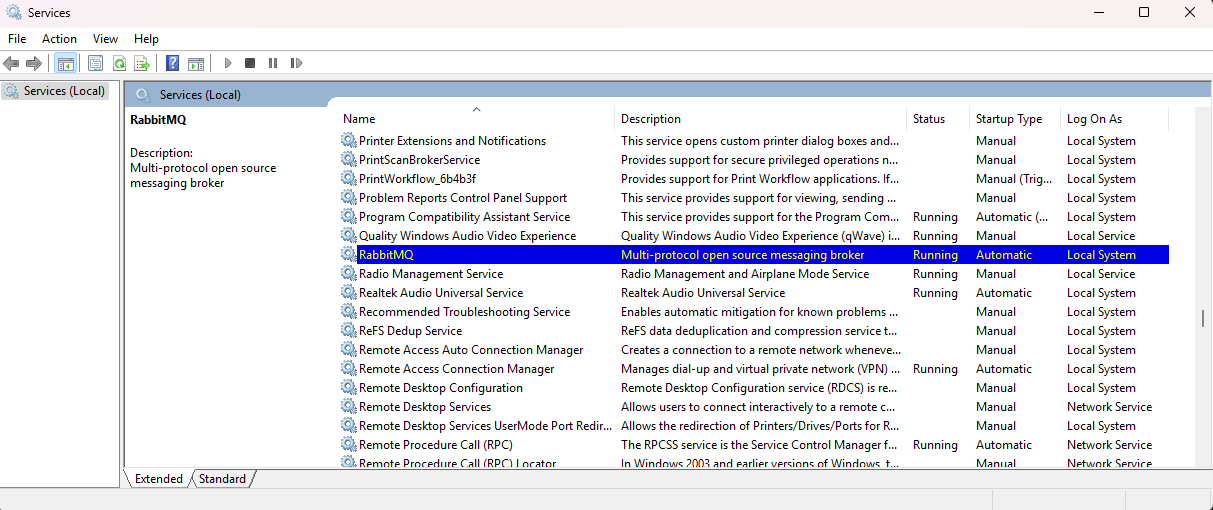
1. Open Windows Services and restart RabbitMQ service.
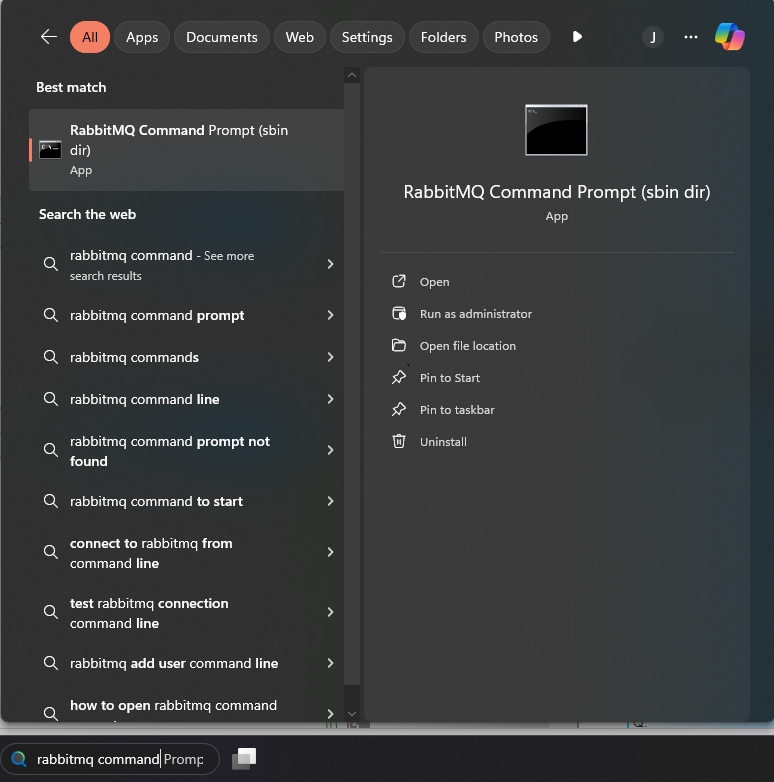
2. Then, in the Windows search bar, type RabbitMQ Command Prompt and open it as an administrator.
3. Now execute the following commands and follow the steps:
a. Create a jws user with jws as password.
rabbitmqctl add_user jws jws
b. Set permissions for the "jws" user:
rabbitmqctl set_permissions -p / jws ".*" ".*" ".*"
c. Enable Stomp:
rabbitmq-plugins enable rabbitmq_stomp
d. Restart the RabbitMQ service.
e. Enable RabbitMQ Management web console:
rabbitmq-plugins enable rabbitmq_management
rabbitmqctl set_log_level error
e. Restart the RabbitMQ service.
f. Assign to the jws user the administrator tag.
rabbitmqctl set_user_tags jws administrator
f. Restart the RabbitMQ service.
4. Use a web browser to access the RabbitMQ Management web console at http://localhost:15672/. The default username and password are "guest". Because of the last employed command prompt, you can sign in directly as jws with password “jws,” which has already been set as an administrator.
Go to Exchanges tab and expand Add a new exchange. Name: Apex.topic, Type: topic and Durability: Durable, then click on Add exchange button.

Note: You can also add the JWS user through the RabbitMQ Management web console by logging in as "guest" if you cannot execute the commands: